Getting Started
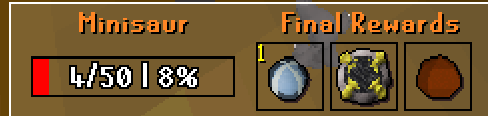
The starter task
Every journey begins with the starter task. It walks you through the basics and gets you equipped for what's ahead — complete it first before doing anything else.
Once that's done, the real game opens up. From here, everything you do feeds into one long-term goal: progressing through the zones.
The Core Loop
After the starter task, the aim of the game is simple to state and deep to master: progress through the zones. Each zone you unlock opens stronger bosses, better gear, and richer rewards.
Talents — Your #1 Priority
Talents are the backbone of your character's power. Upgrading them is the single most important thing you can do — so the bulk of your time should go toward content that rewards talent orbs.
Each talent upgrade costs 1 orb plus cash. The cash cost increases with every upgrade, so orbs and gold both become the currencies that gate your progression.
For the full talent system breakdown — orbs, paths, and the no-reset warning — see the Talent System guide.
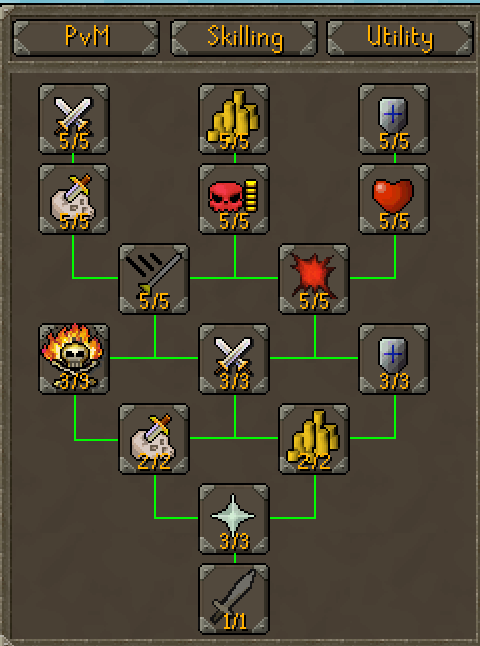
The talent tree
The Optimal PvM Route
There's a lot of freedom in how you spec — but for PvM, this early order is the most efficient. Follow it in sequence, then branch out however you like.
Where Talent Orbs Come From
Orbs drop from a huge range of sources — both skilling and PvM. You're never locked into one grind. A sample of what gives orbs: boss control runs, donating to WOG, global bosses, boss slayer tasks, raid runs, mining, woodcutting, fishing, agility, salvaging, collection logs, and voting.
Start Slayer Early
It's a good idea to start Slayer early. Levelling it up unlocks better tasks and — importantly — lets you work toward a Slayer Helm. Even the Tier 1 helm is worth shooting for: it gives decent base stats plus meaningful bonuses while on-task.
The helm tiers scale hard. Here's the full progression from base through Tier 4:
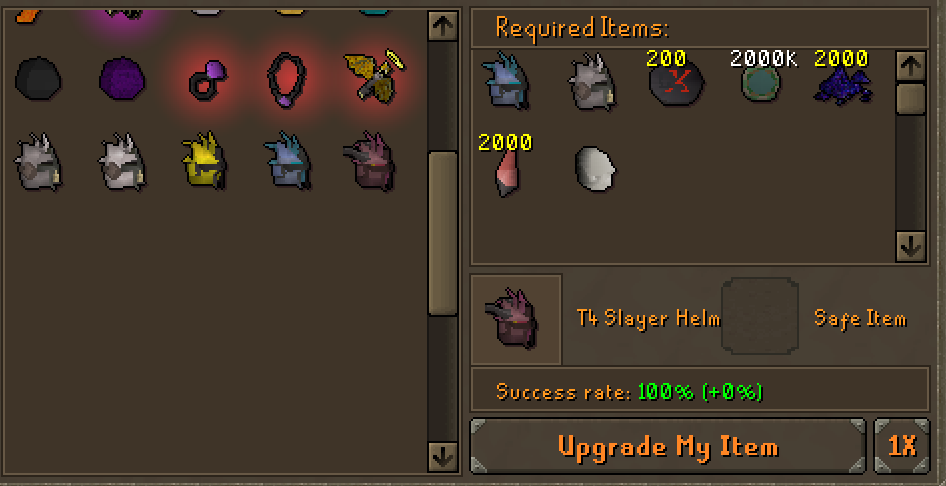
Upgrading your helm takes materials from the Slayer Store. Spend the slayer points you earn on-task here to fund each tier — it's the main sink that turns your slayer grind into raw combat power.
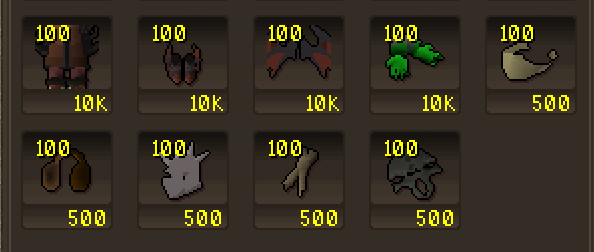
Slayer store — helm materials
Consumables Explained
Consumables are your DPS, drop-rate and survivability multipliers. Here's every one in the standard stack — the numbered pins map to the breakdown below.

Consumables.png, re-check the pin top values — they're percentage-based and easy to nudge in the page code.
Custom Prayers
As you progress you'll unlock custom prayers — pick them up and experiment as you get them. Each one comes with a drawback and a positive, so they're not free power; they change how you play.
On balance they're generally net DPS gains that enhance and shift your gameplay, keeping combat fresh rather than one-note. Try each prayer against different content and find the ones that suit your setup.

Custom prayers
Boss Control & Boosters
When Boss Control is active — and once you have reasonable damage to hit the 5M minimum requirement — it becomes one of the best grinds available. Running it lets you farm the consumable damage and drop-rate scrolls and charms covered above.
It's also where you make the damage boosters. Crafting a booster has a 25% craft chance, so bank materials and expect to burn a few attempts per success.
Yugioh Raids
Yugioh raids are the mid-game raid — your first proper raiding content, and a natural next step once you've got Boss Control going and reasonable damage behind you. They're a strong reward grind that bridges the gap between early bossing and the endgame.
Fatebound Journals
The Fatebound Journal is a progression track worth working through in stages. Grab Tier 1 early — it's an easy account-wide boost you'll benefit from for the rest of your journey. Then aim to have Tier 2 done before you craft the Drugo Costume, so you walk into the Elite-boss grind with it already active.

Fatebound Journal — Tier 1 (early)

Fatebound Journal — Tier 2 (before Drugo)
Quivers — Bonus Damage
Quivers are a straight bonus-damage slot and one of the best DPS upgrades you can chase. Upgrade them as you go — each tier is a flat damage multiplier, and you want the Radiant Quiver sooner rather than later.
Get Tier 2 (Radiant) and your quiver sorted before Drugo so your Elite-boss damage is as high as possible going in.

Orbs & quiver
The Drugo Costume
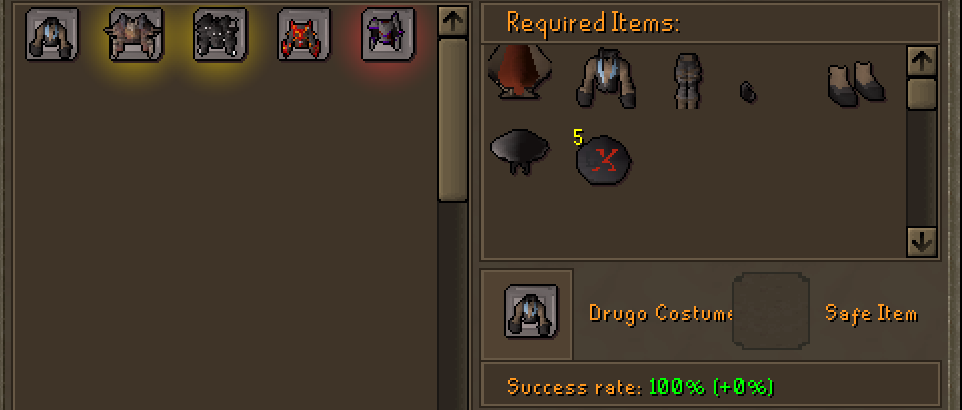
The Drugo costume
Once you finish the zones, you can craft the Drugo Costume. It grants powerful bonuses — +200% bonus damage and 25% damage reduction — on Elite bosses, up to Skeletal Drake.
Battle Cadence Rewards
Once you're past Drugo and into the Elite-boss grind, turn your attention to Battle Cadence rewards. This is the next reward track to work through — the payouts here are built for a stronger account and slot neatly into your endgame push.
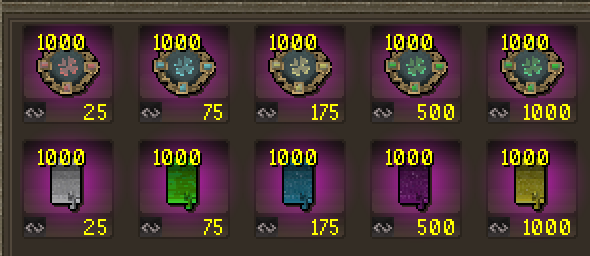
Battle Cadence rewards
Endgame
By this stage you've got the loop down. Endgame is about grinding it all in parallel toward the biggest unlocks and rewards:
Never stop pushing talents. Farm Elite bosses to unlock the big targets: Skeletal Drake, Shardmaw, and Occulus.
Keep climbing the Slayer Helm tiers. Higher tiers massively boost your on-task damage, drop rate and stats — compounding every other grind.
The two endgame raids. Grind Holy Raids and Poke Delv — these are the top-tier reward grinds where your fully-built account pays off.
Back to Hub
← All Guides & Raids