Overview
The Holy Raid is a four-boss endgame gauntlet run across three difficulty tiers. Each of the first three bosses teaches you one mechanic — a chasing orb, a wall of fire, and a 4x4 bomb explosion — then the final boss combines all three at once. Clearing it cleanly is less about raw DPS and more about movement and positioning.
The defining threat is Boss 3's bomb: a 4x4 blast that hits for up to 150 and can one-shot you. Everything else is survivable if you keep moving and keep your HP up — but that explosion will end your run instantly if you're standing in it.
Minimum Requirements
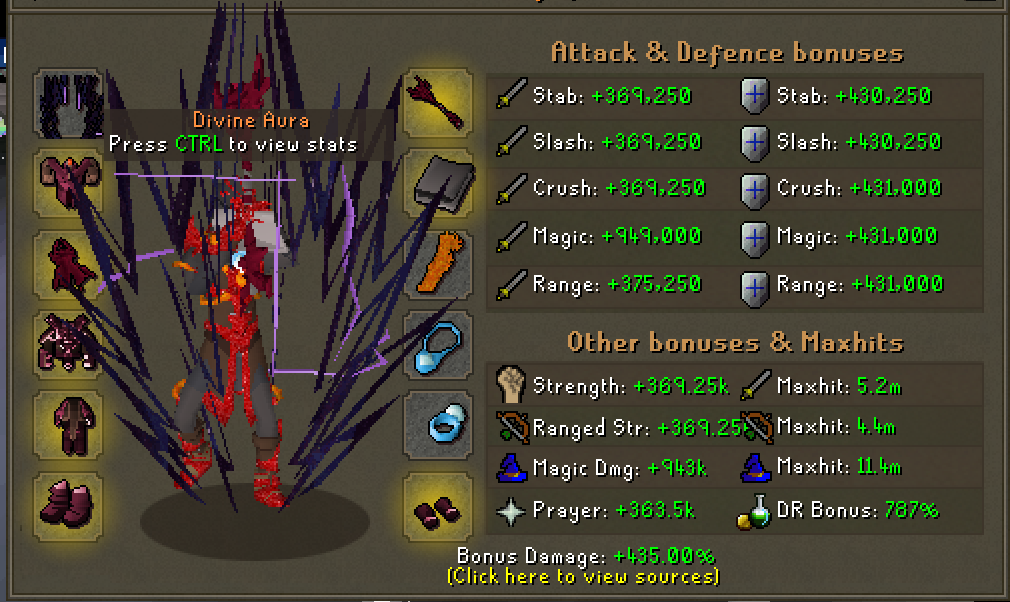
Minimum entry requirements
Meet the requirements shown before you queue. The Holy Raid is endgame content — undergeared players will be melted by the Boss 3 explosion and overwhelmed once Boss 4 starts layering mechanics together.
Talents
Spec into the talents shown before running the raid. The Keymaster talents directly multiply your key rewards — Keymaster I grants +1 key per level (max +3), and Keymaster II grants +2 keys and triggers the ×3 base multiplier on your roll. See the reward table at the end of this guide for the full breakdown.

Pre-Raid Prep
Before you queue, pop your consumables — with 43B+ boss HP, every bit of extra DPS shortens the run and means fewer mechanic cycles to survive.
::wog perk to be active is optional, but advised — it roughly halves your clear time.Boss Mechanics
Four bosses, each with its own mechanic — and a finale that combines them all. Every fight tests movement and positioning over raw DPS. Learn each one in isolation and the Boss 4 gauntlet becomes readable.
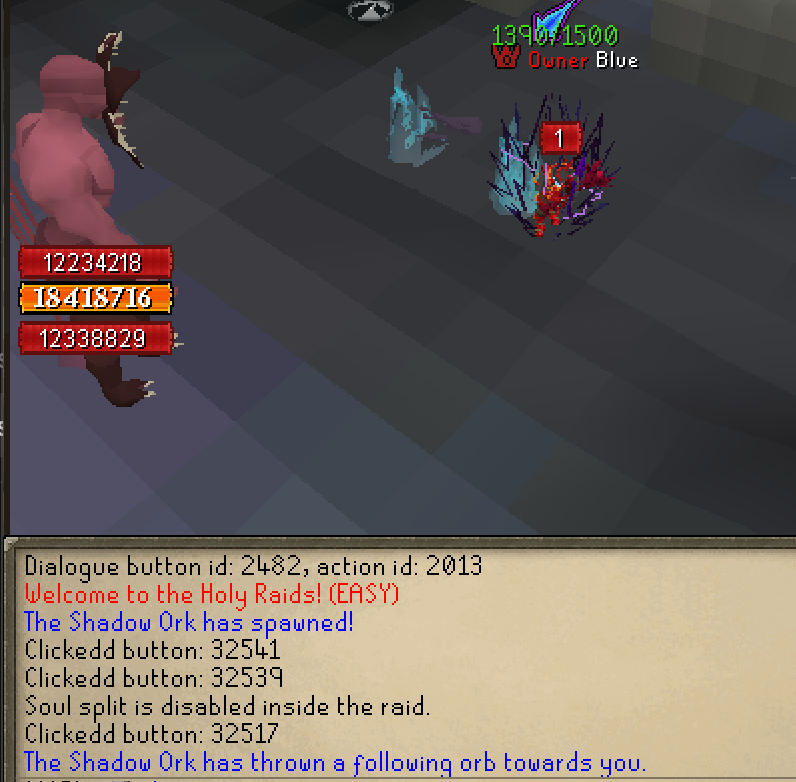
An orb follows the player around the arena. As long as you keep moving it can't catch you — but the moment you stop, it deals damage. Never stand still.
Kite the orb in a wide loop while you DPS. This same "always keep moving" pressure returns in the Boss 4 finale.
Stop moving = take damage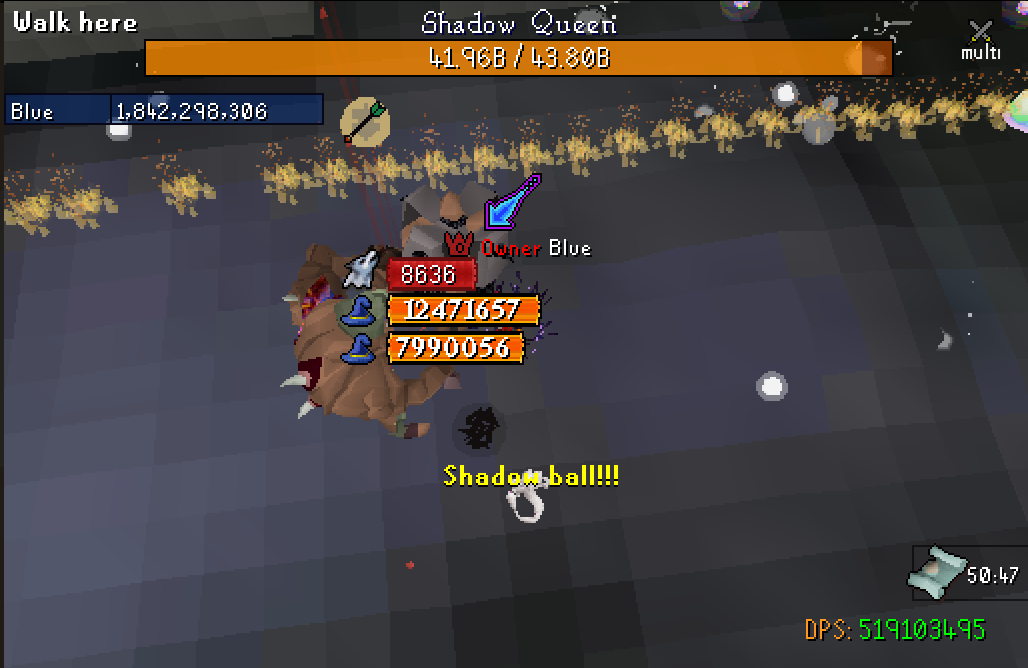
Boss 2 summons a wall of fire that sweeps the arena. There is always a gap in the wall — spot it and move through it. Getting caught by the flames deals up to 100 damage.
Read the wall early, line yourself up with the gap, and pass through cleanly. Don't panic-move at the last second.
Up to 100 damage · find the gap💥 Boss 3 — The Explosion
Boss 3 drops a 4x4 bomb that detonates after a short wind-up. This is the single most dangerous mechanic in the raid — it hits for up to 150 and can one-shot you. It only covers a 4x4 area, so a couple of steps clear is enough — but you have to move.
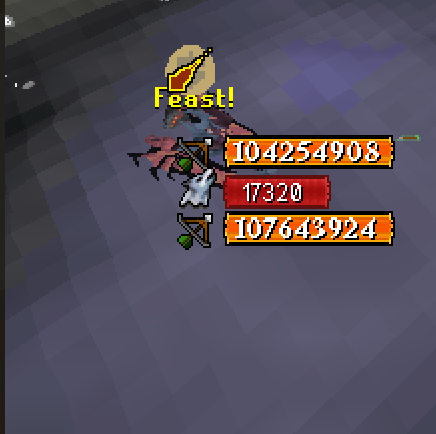
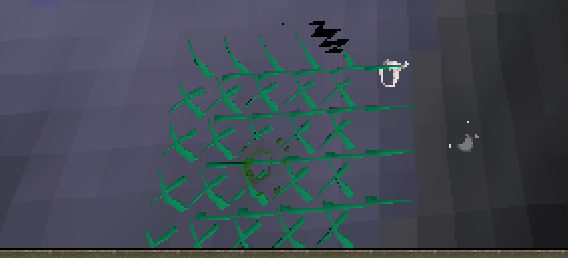

The bomb hits for up to 150 — enough to one-shot you — across a 4x4 tile area. The moment you see the wind-up telegraph, step out of the 4x4 blast zone before it goes off.
Dodge first, DPS second. No amount of gear reliably tanks this — your positioning is the only defence that matters.
Up to 150 · One-Shot Step out of the 4x4 zone✦ Boss 4 — The Finale
The final boss uses the mechanics of all three previous bosses — the chasing orb, the fire wall, and the explosion, all layered together. Never stop moving, watch for the gap, and dodge the 150 blast throughout the entire fight.
There's no new mechanic to learn here. If you handled Bosses 1–3 cleanly, you already know every move Boss 4 will throw. The challenge is executing them all at once under sustained pressure.
Orb + Fire Wall + Explosion, togetherDifficulty & Loot
The raid runs across three difficulty tiers. Boss HP, mechanic intensity and loot all climb as you step up — start on Easy to learn the fights, then push into Medium and Hard for richer rewards once every telegraph is second nature.
Each tier rolls from its own reward table — the harder the raid, the richer the spoils. The tables below show what drops at each difficulty.


Holy Raid Keys — Reward Breakdown
Your final key payout is a base amount plus every perk you qualify for. Bonuses stack unless noted. The Raider's Curse gamble is applied last, to the final total.
| Source | Keys |
|---|---|
| Base Amount | |
| Base key amount | 2 |
Base with ::wog raids perk active | 4 |
| Base ×3 when triggered by Keymaster II Multiplier | 6 or 12 |
| Donator Ranks — only the highest applies | |
| $500k+ donator rank | +5 |
| $250k+ donator rank | +4 |
| $125k+ donator rank | +3 |
| $80k+ donator rank | +2 |
| $60k+ donator rank | +1 |
| Founder Bundles — stack with each other | |
| Gold Founder's Bundle perk | +4 |
| Silver Founder's Bundle perk | +1 |
| Unlocks & Talents | |
| Fatebound Journal T2 perk | +1 |
| Keymaster I talent (+1 per level, max +3) | +1–3 |
| Keymaster II talent | +2 |
| Exodia Sword (Keepsaked) | +2 |
Back to Hub
← All Guides & Raids