Overview
Morrigan is the second boss of the tier and a significant step up from the Mystery Man. At 68 million HP she is a long fight, and her three distinct mechanics mean you cannot simply tank through her — you need to react and adapt constantly.
Her auto-attacks hit for up to 700 damage but land slowly, so the rhythm of the fight is manageable when you're healthy. The danger comes from mechanic overlap — being slowed, bleeding, and watching her heal simultaneously is where most players die.
Boss Mechanics

Morrigan curses you with a bleeding wound, dealing 10% of your current HP per second for 5 seconds. The higher your HP when the bleed applies, the more each tick hurts.
This is her most dangerous mechanic. A bleed tick combined with a standard 700 hit can chain-kill you in seconds. Eat immediately when bleed activates — do not wait for it to tick out naturally.
10% current HP/sec · 5 seconds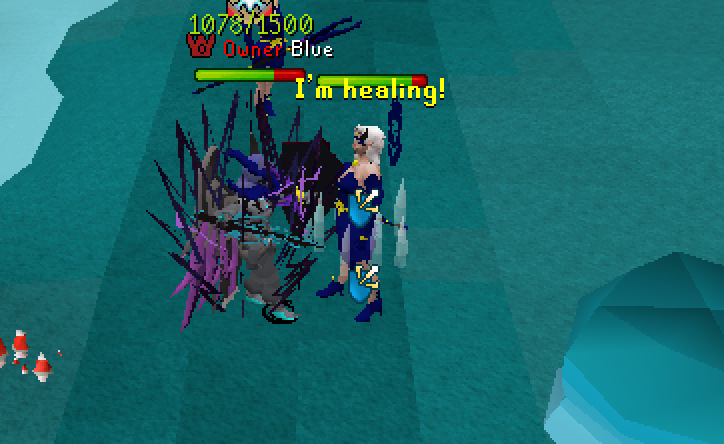
Morrigan channels a healing aura, restoring 5% of her maximum HP — that is 10 million HP per activation.
This mechanic is purely a damage race. There is no way to interrupt or prevent it. The best counter is maintaining high DPS throughout the fight so her healing doesn't undo significant progress.
Heals 10,000,000 HP per activation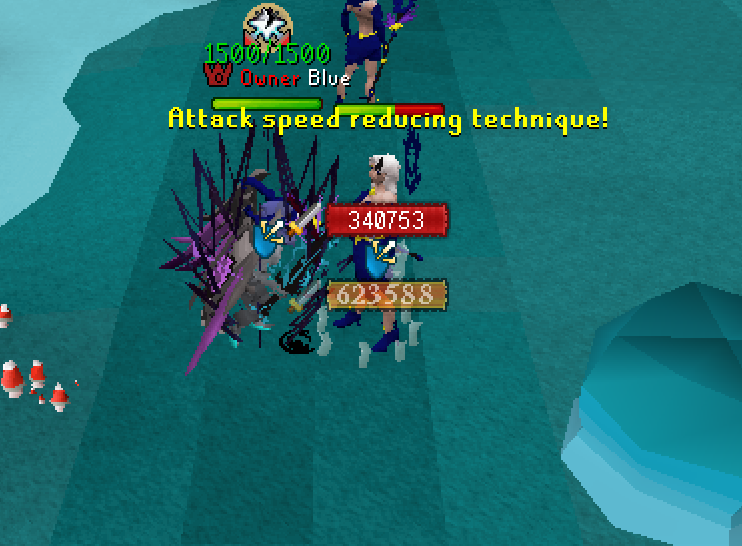
Morrigan reduces your attack speed by 25% for 5 seconds. This directly cuts your DPS output and extends the window where her Healing Aura is most effective.
When Speed Reduce is active, focus on staying healthy rather than out-damaging her heal. Resume pushing DPS once it expires. Stacking this with a Healing Aura activation is her most punishing combo.
−25% attack speed · 5 secondsRequired Gear
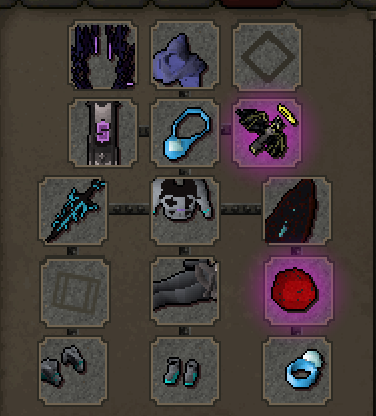
Full required loadout
This is not a recommended loadout — it is the minimum required gear to have a viable attempt at Morrigan. Below this threshold her max hit and mechanic damage will outpace your ability to sustain.
::inf or ::forge::inf or ::forge::inf or ::forge::inf or ::forge::inf or ::forge::inf or ::forge. The Mystery Man set is the only piece you must earn through kills before attempting Morrigan.
Recommended Inventory
Bring a full inventory of high-healing food. Morrigan's Bleed mechanic means your HP can drain rapidly even between her slow auto-attacks — you need raw healing volume, not just healing speed.

Recommended inventory
Spoils
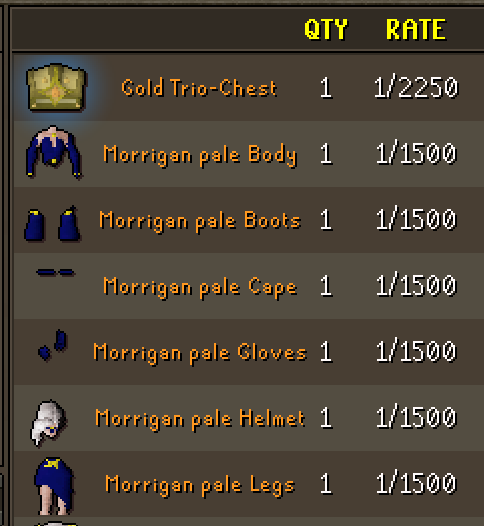
Morrigan's drop table reflects her difficulty. Complete her collection log (CTRL+C) before moving on. Her drops represent significant progression upgrades and are worth farming before tackling the next tier - However, is not required.
Previous Boss
← Mystery Man Guide